


“I want to edit my Sony MTS files in Final Cut Pro X on Mac, but however I tried, I just failed to import my files to it. What can I do with such problem? How to solve it easily?” This might be a common problem for people who use the AVCHD camcorders to shoot footages and want a further editing in Final Cut Pro. And actually that’s a codec problem. That is to say, the HD recording format MTS is not compatible with FCP (X). And the best supported format for FCP is Apple ProRes 422. If so, what you need to do is very clearly, that is, to find an MTS to FCP Converter to help you make the conversion.
Here, iOrgSoft AVCHD Converter Mac can do you a big favor in converting MTS files to FCP. Besides, this converter allows you to convert the footages in AVCHD(MTS/M2TS), MOD, TOD, MXF, M2T to any target format you need. You can use the converter to convert the files to common used video formats like WMV, MPG, MP4, etc. or you can change them into the popular editing software like FCP, iMovie, Sony Vegas, Windows Movie Maker, etc. even you can convert footages to other mobile devices like the mobile phones and tablets.
Tips: if you are the user of Windows, you can use the Windows version of AVCHD Converter In addition, you can use this converter as a simplified editor as well. You can do trimming, cropping, merging, and adding effects, rotating, as well as flipping. You will see how to make them in the following passage.


Now I’d like to show you the specific step-by-step process on how to convert MTS to FCP X with this AVCHD Converter Mac:
Step 1. Free download AVCHD Converter Mac
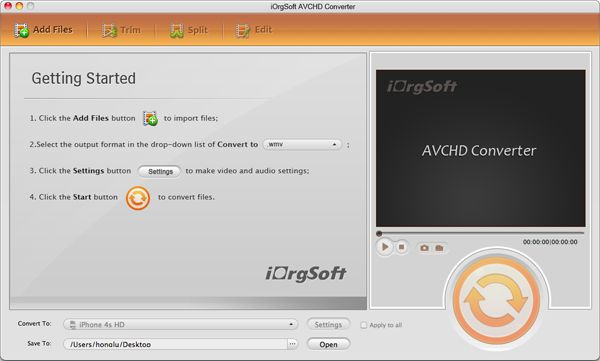
At the very beginning, you should download the free trial of the converter by clicking the download link above. Then please get it installed to get ready.
Step 2. Select the MTS files that you want to convert
In this step, you can hit the “Add File” to pop up a window for you to choose the MTS files that you want to process. You can do the batch converting with is as well so that you can add as many as you like at a time.

Step 3. Choose output format
You can find out the target format in this step easily by striking “Convert to” bar to choose “Final Cut Pro”, all the output format in the “Final Cut Pro” column are available for you to choose. Just pick out one of them

Step 4. Begin the conversion
Now you can launch the conversion easily by hitting the “Convert” button on the right side of the interface. After that, you may find out your processed files by clicking the “Open” button in the bottom of the interface.
Extending reading:
Trimming: You can click the “Trim” button on the top of the interface and drag the timeline to set the start and end points as you like in the “Trim” window. Besides, if you want to make the trimmed segments to be one files to output, you can tick the check box of “Merge trimmed files”.
Cropping: If you want to cut the unwanted part of the videos, you can click the “Edit” button on the top of the interface as well. Then actually you can see several buttons. To crop the videos, you can drag the cursor to select the wanted area of your videos, then if it’s ok, you can just click “ok”.
Splitting: If you want to separate your videos into several equal segments, you can strike the “Split” button between “Trim” and “Edit”. You can divide them due to time, or due to pieces. That is, if there’s a 10 min videos, you can divide it as 2 min per segments, or you can just divide it as 3 segments and the time will be calculated by the computer.